Creating a Framework Laptop Custom Module
If you’re looking for a laptop that’s easy to upgrade and customize, look no further than the Framework Laptop. This laptop is designed to be modular, which means you can easily swap out components like the battery, storage, and even the ports.
One of the coolest things about the Framework Laptop is that you can create your own custom modules to add new functionality to the laptop. In this post, we’ll show you how to create a custom module to embed a USB receiver for a mouse.
Image credit: Framework
Step 1: Gather Your Materials
To create your custom module, you’ll need a few things:
- A USB receiver for your mouse with a profile slim enough to fit within the expansion card
- A USB-C to USB-A adapter shim (search for ‘5pcs Ultra Type-C USB-C to USB 2.0 OTG Adapter for Cell Phone Tablet’)
- A Framework Laptop
- A Framework Laptop expansion card STL file. You can find this here.
- A 3D printer
Step 2: Print the Expansion Card
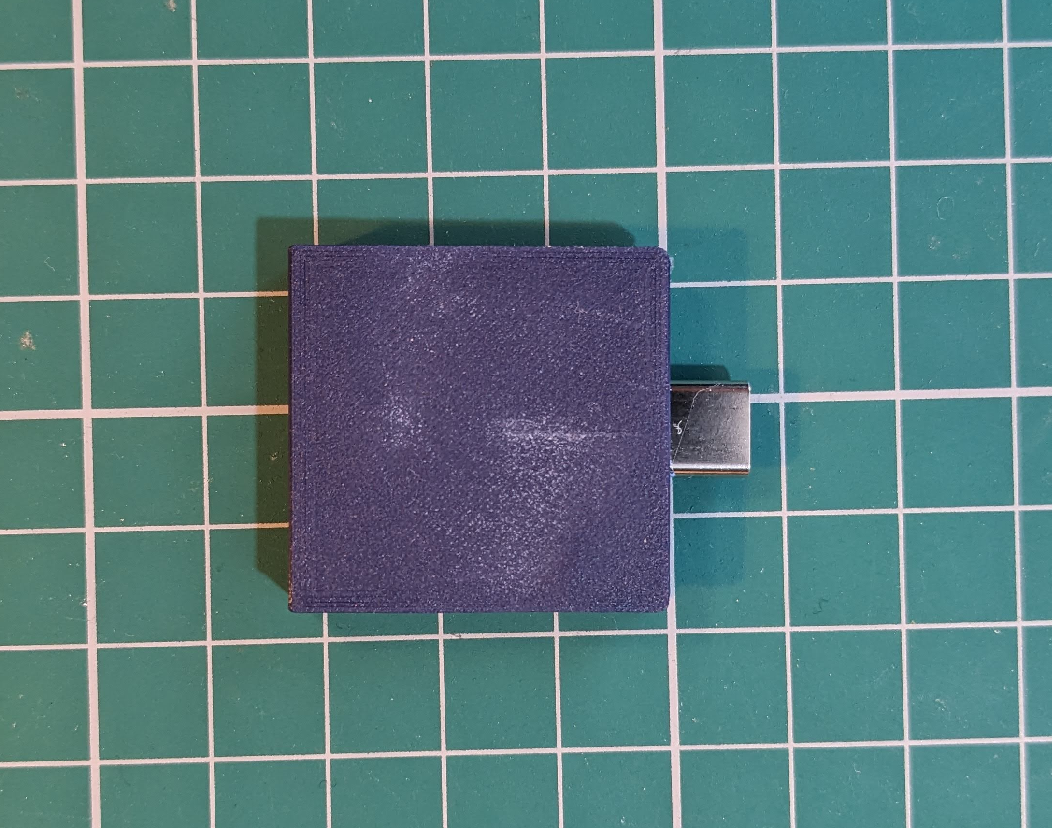
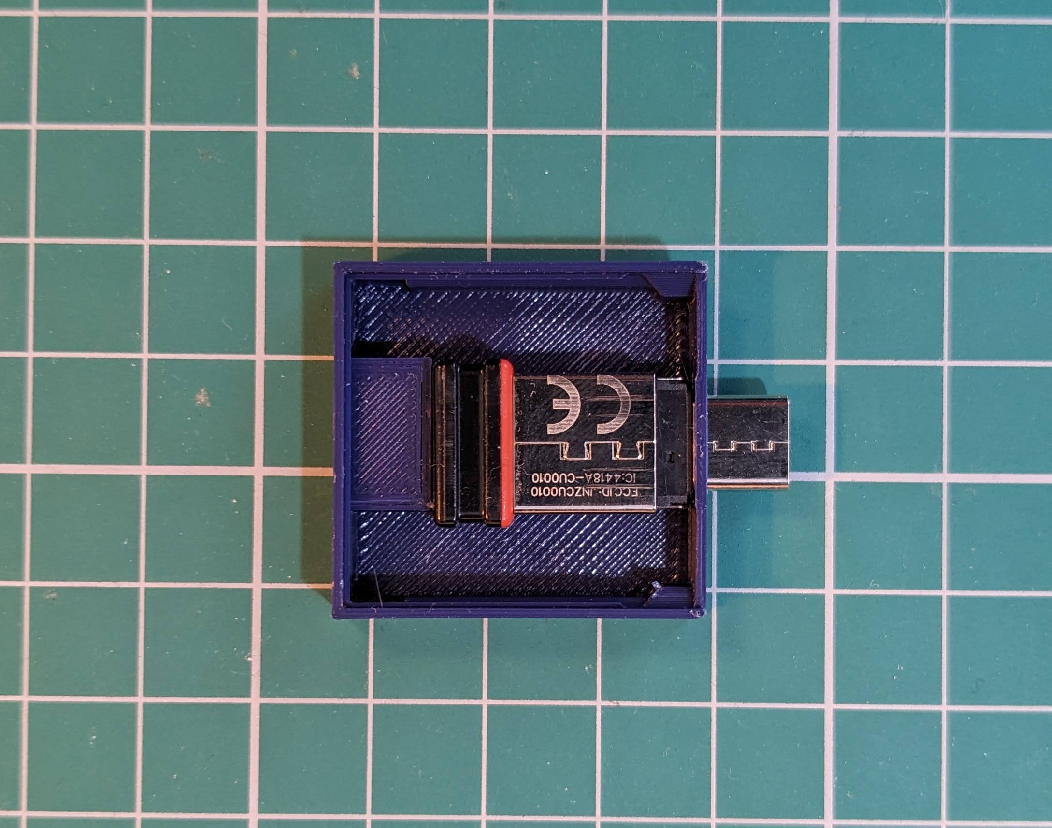
The first thing you’ll need to do is 3D print the Framework Laptop expansion card. There are a few files available. I used the Framework Module Base Slot.stl and added a solid block to fill the gap between the USB receiver and the end of the expansion card.
Step 3: Add the USB Receiver
Once you have the expansion card printed, you’ll need to add the USB receiver for your mouse.
Slide the USB-C to USB-A adapter shim onto the USB receiver and then slide the USB receiver into the expansion card. Make sure the USB receiver is flush with the end of the expansion card.
Step 5: Install the Expansion Card
Now that you have your custom module, it’s time to install it in your Framework Laptop. Simply slide the expansion card into the appropriate slot and you’re good to go!
With your new custom module, you’ll be able to use your mouse without having to worry about catching or damaging the USB receiver. And if you ever need to upgrade or replace the module, it’s easy to do so with the Framework Laptop.
Happy customizing!


